Visualizing Data using Esri StoryMaps
Getting Started
Note: Some part of this tutorial uses data downloaded from Los Angeles Open Data portal (see: Quick Visual Guide to Visualizing Data on LA Open Data Portal)
- StoryMaps are a powerful tool for combining spatial data and narrative. For an introduction to building narratives and a list of examples, check out these this wonderful guides from Esri for creating StoryMaps: Nine Steps to Great Storytelling
- UCLA story map about story maps (https://arcg.is/5vCnb )
- Browse the ESRI Story Map Gallery for inspriation: (https://www.esri.com/en-us/arcgis/products/arcgis-storymaps/stories )
- Navigate to ArcGIS StoryMaps (https://storymaps.arcgis.com/stories) and login if you have an account..
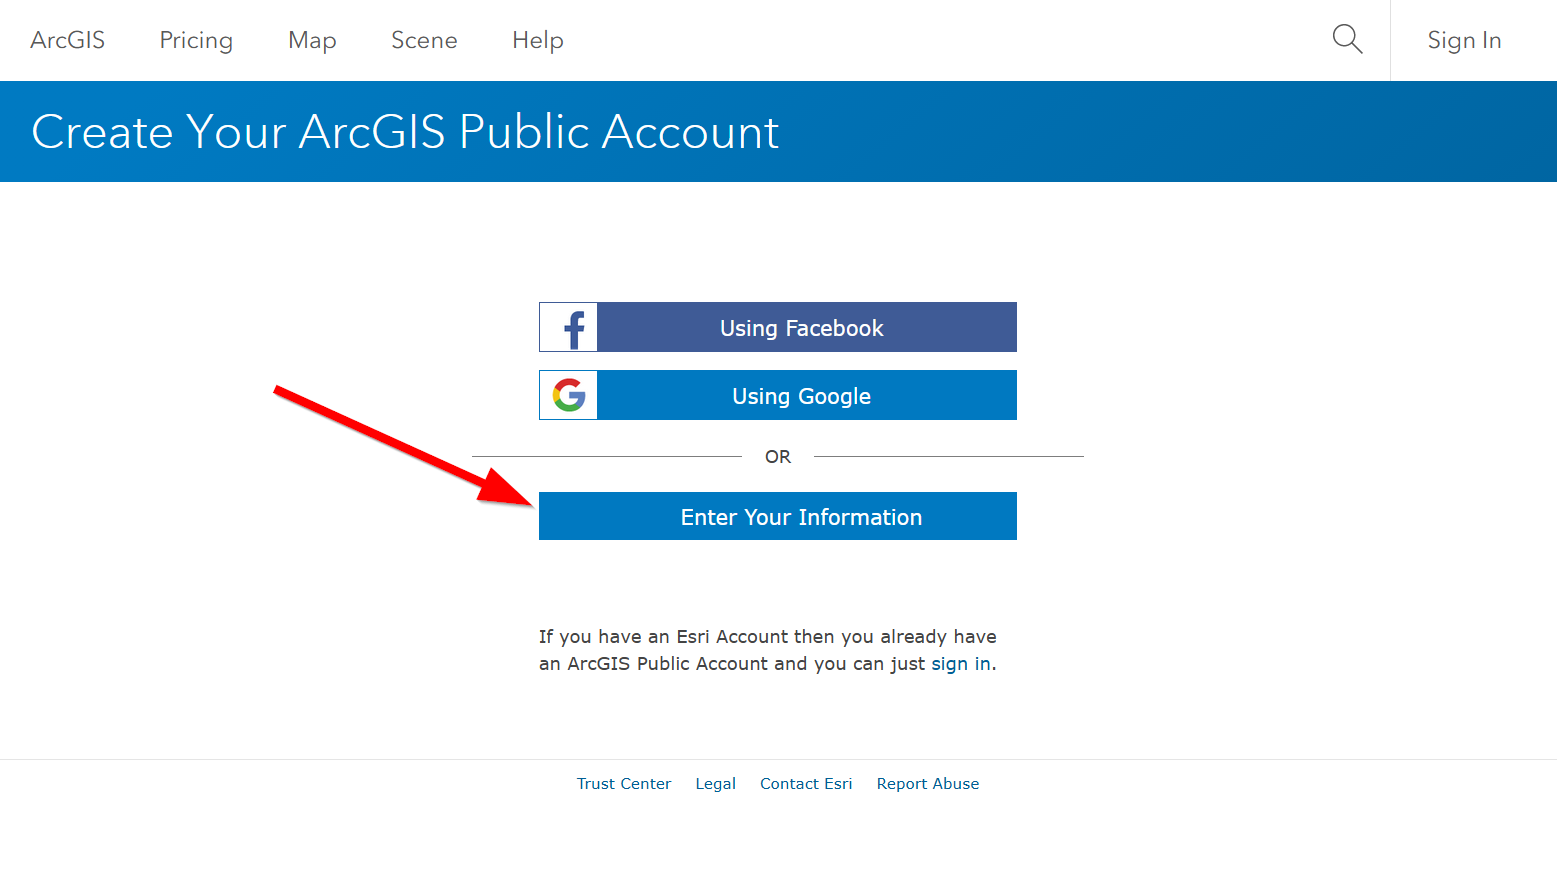
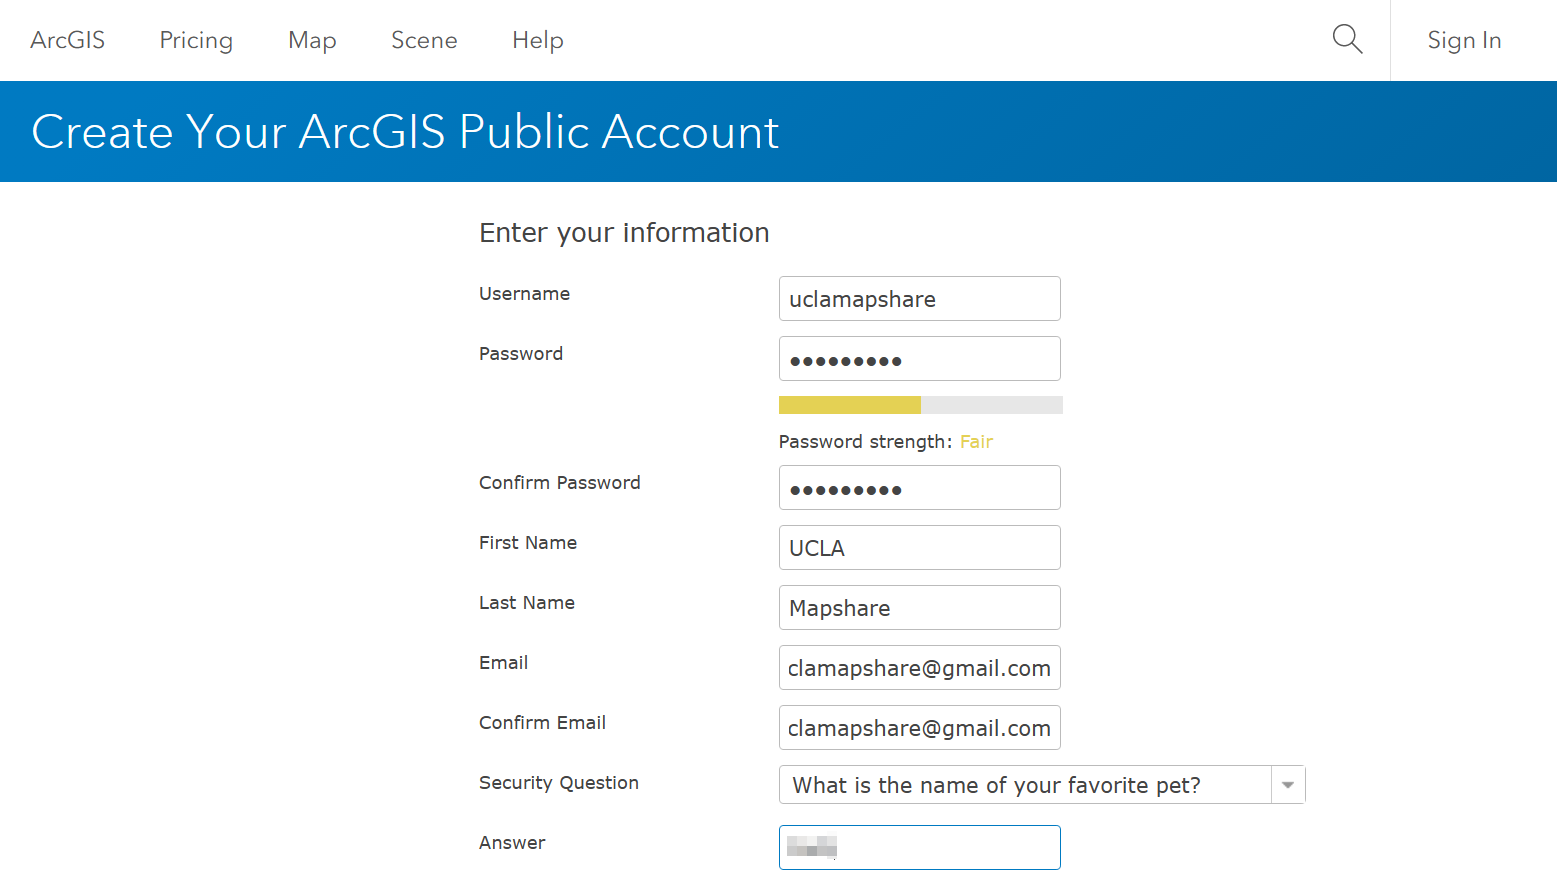
- If you do not have an ArcGIS account then create your ArcGIS Online Public Account here: (https://www.arcgis.com/home/createaccount.html)
- Select Create a new story and begin adding images, videos and content.
Designing your StoryMap
- Click Design to customize your StoryMap theme, cover, accent colors, font, & add a logo.
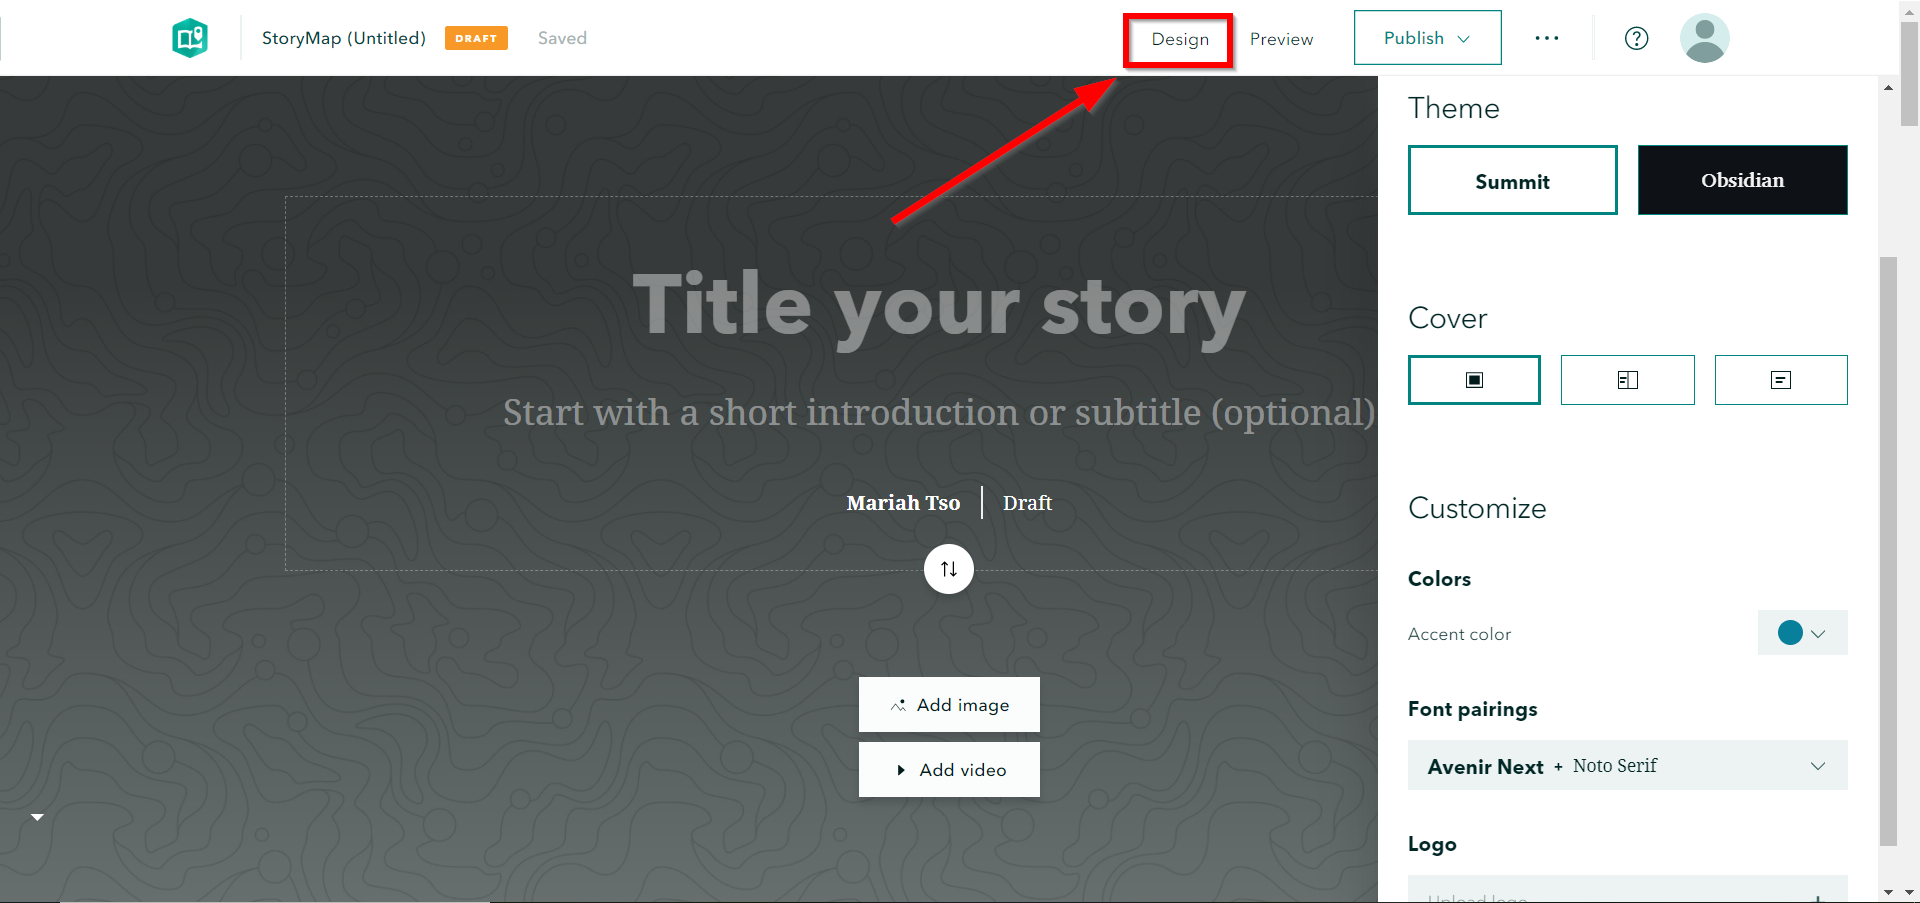
Esri StoryMaps consists of “content blocks” these have different types, such as pictures, text, and maps.
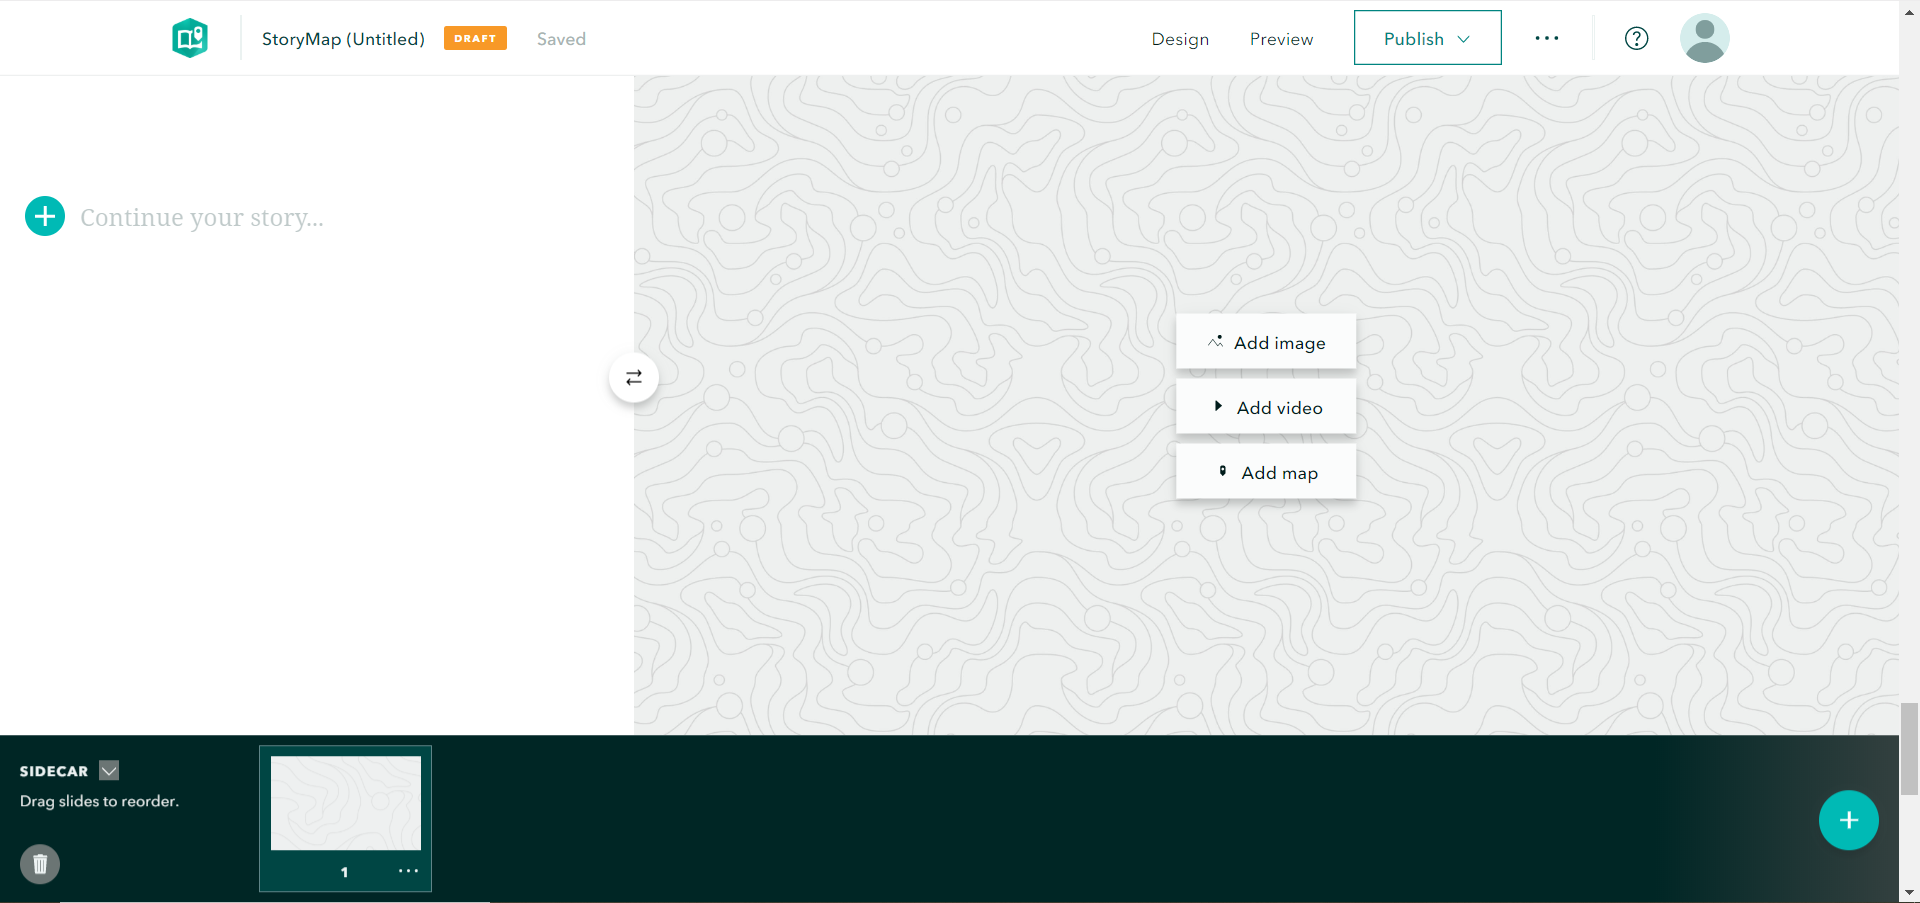
Adding Content Blocks
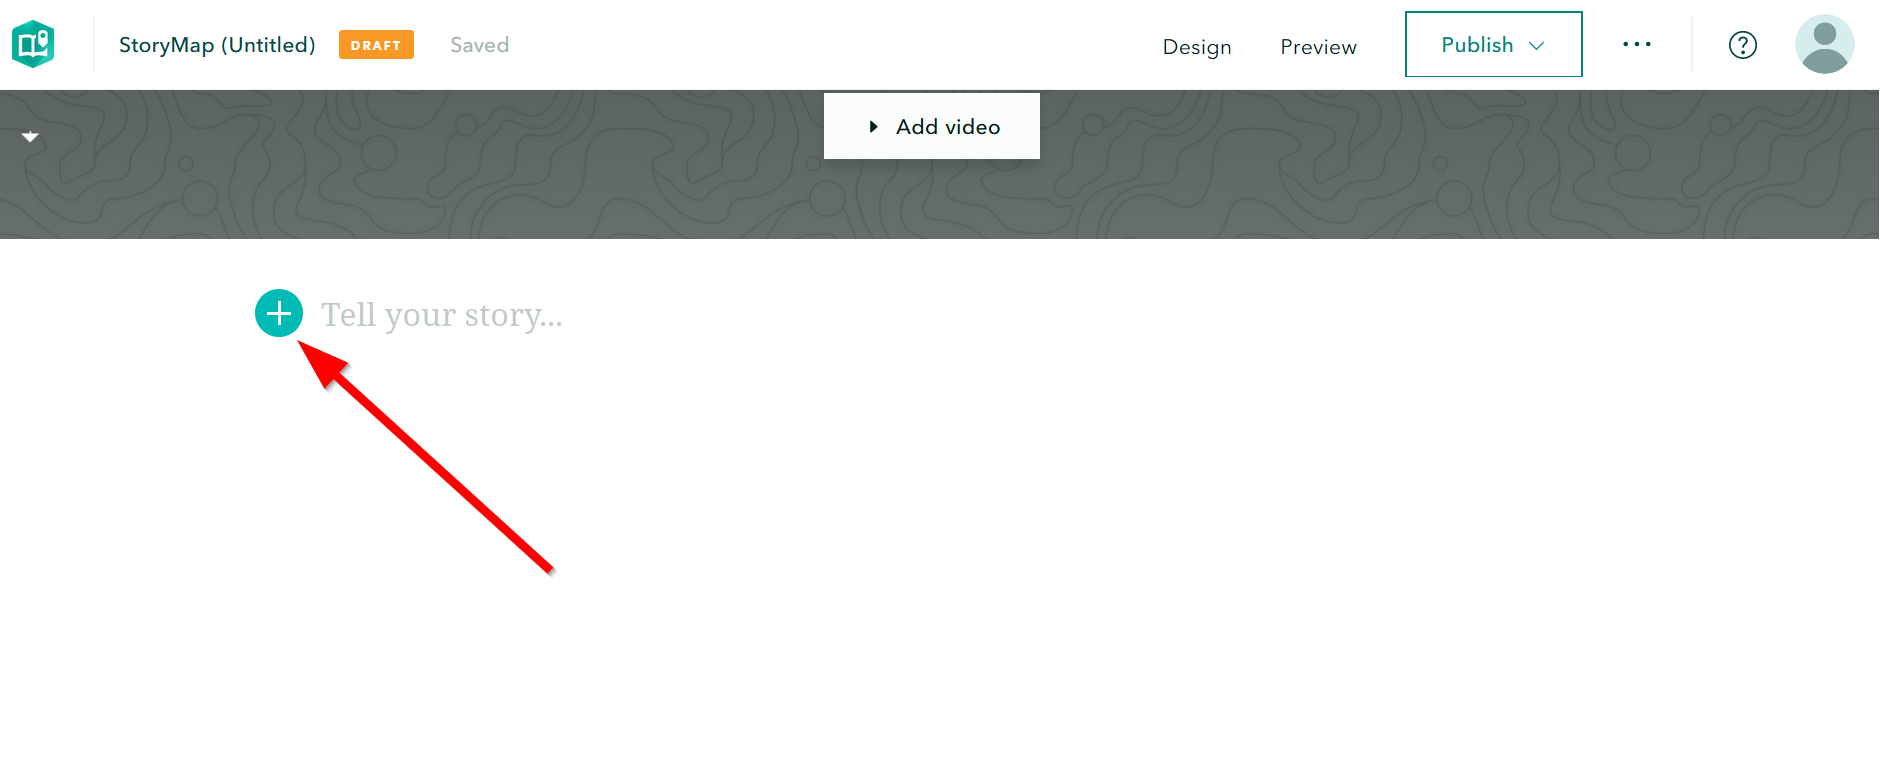
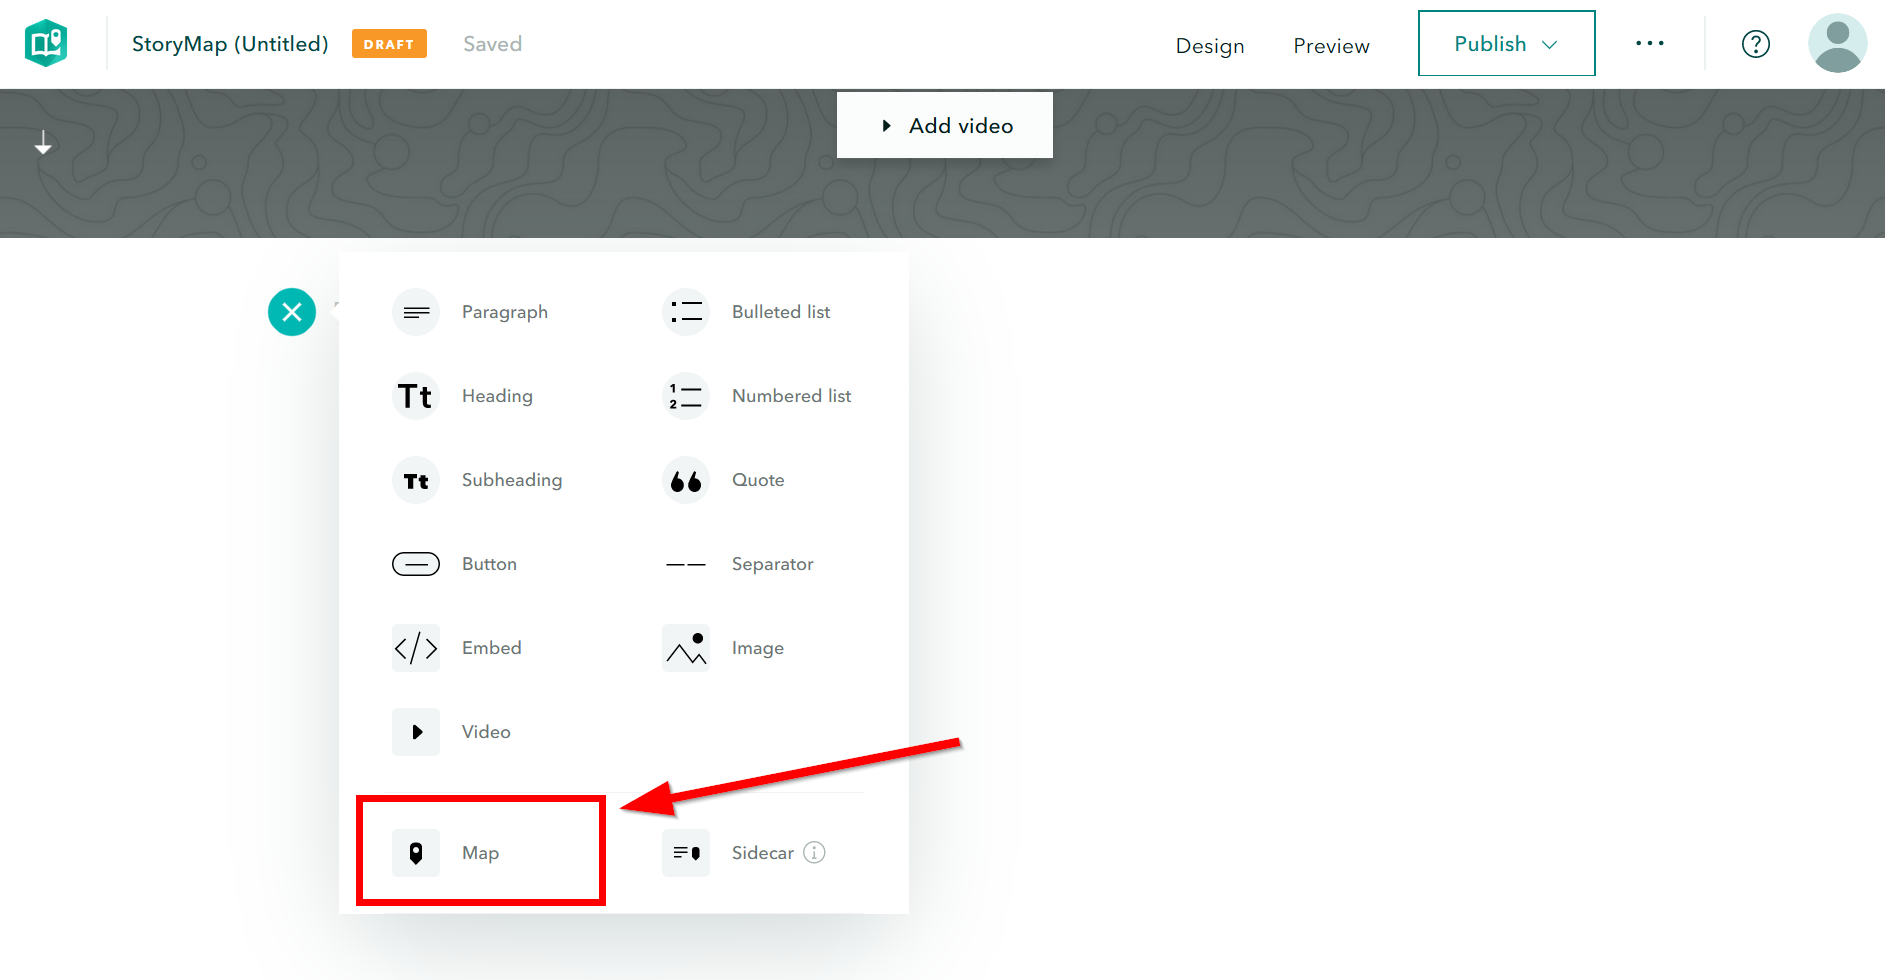
- Click Add Content Block
- Review the various content block types to build your narrative. Select Map.
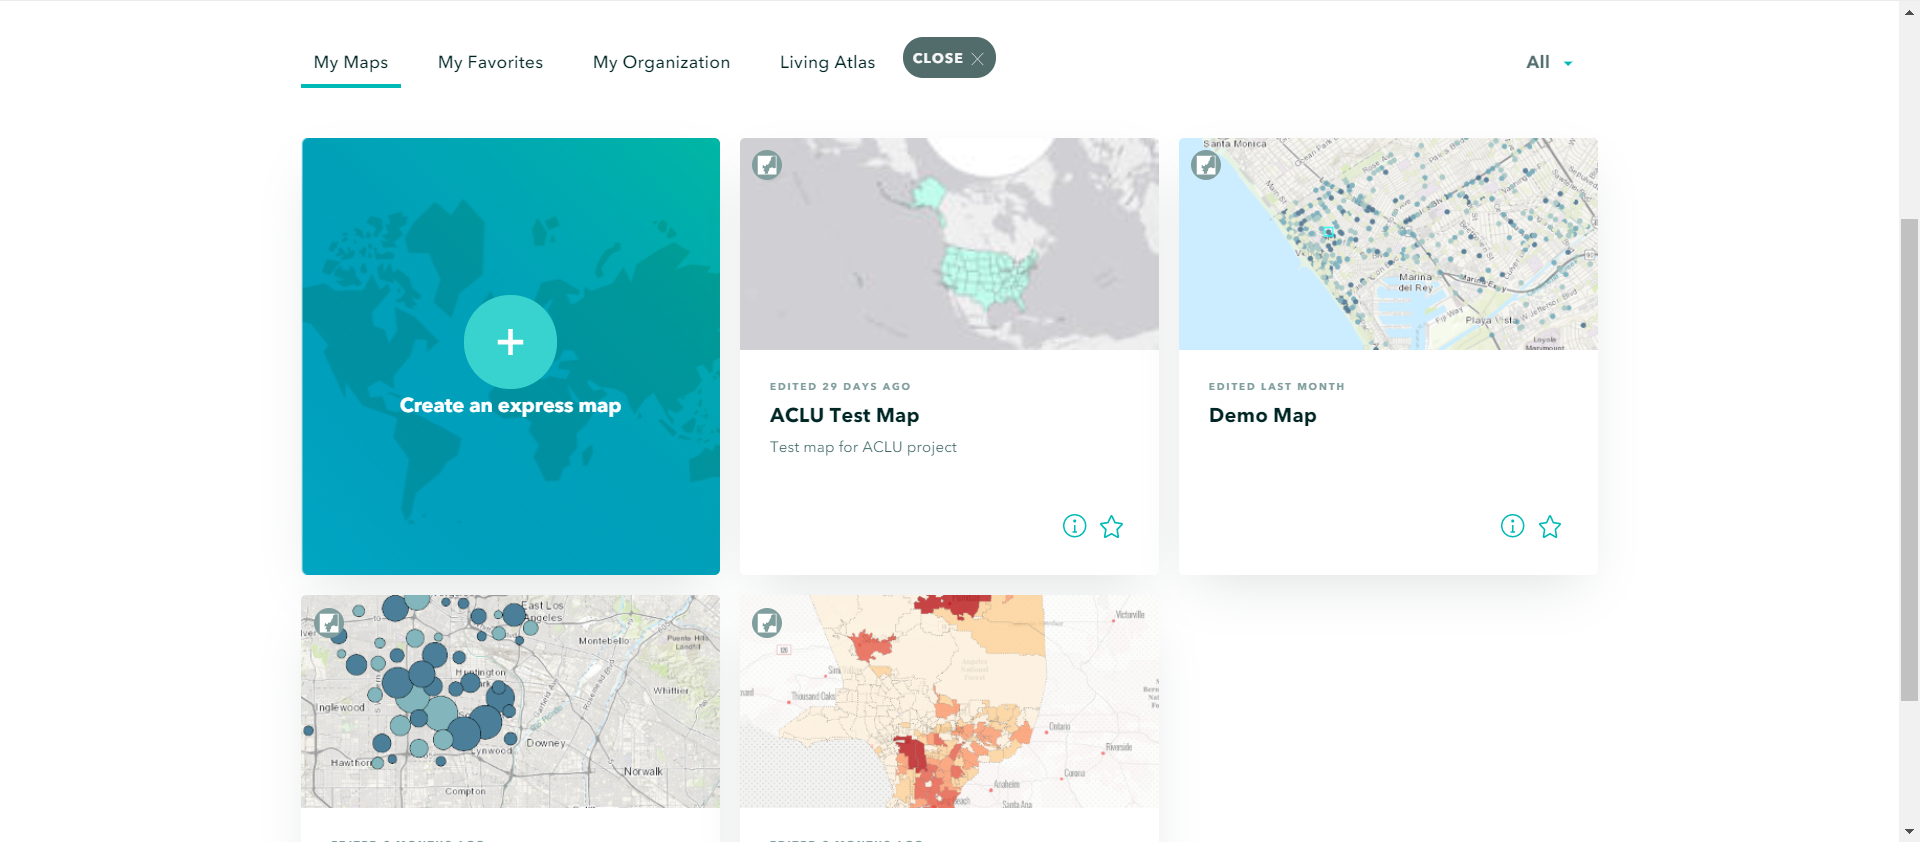
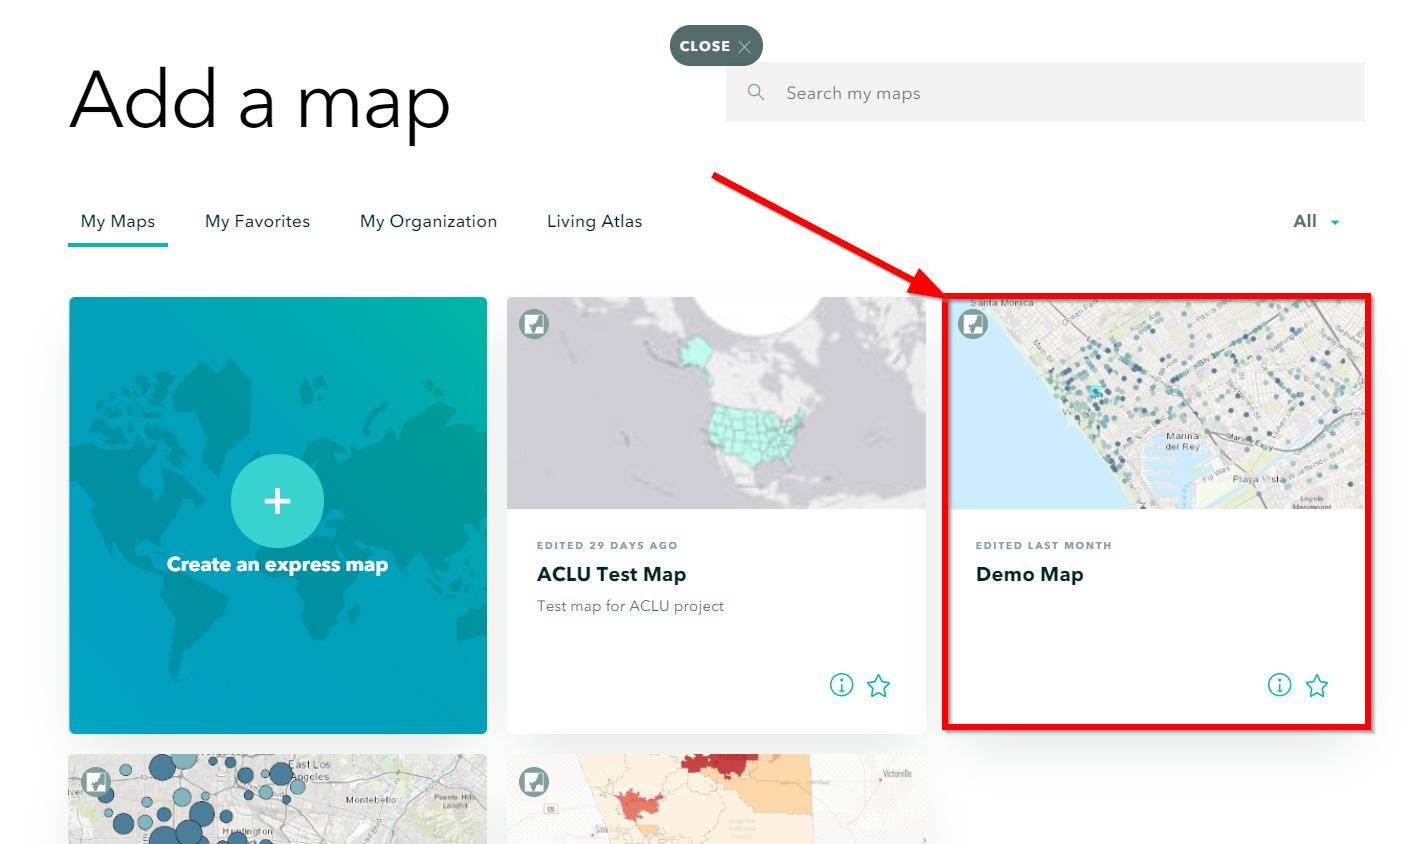
- There are two options for adding maps: a) Create an Express Map and b) Add an existing ArcGIS Online web map.
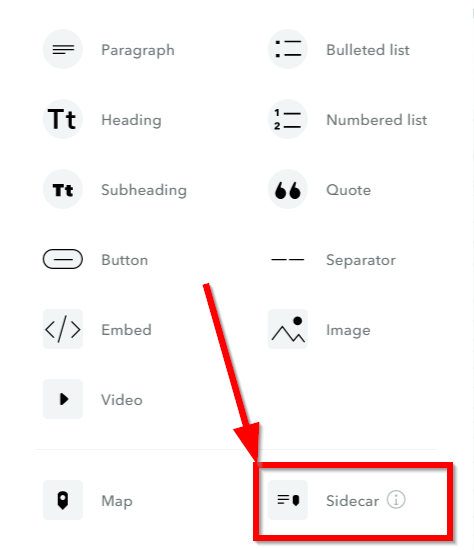
Adding a Sidecar
- Sidecars are like Powerpoint or Prezi, where you can add accompanying slides, they are perfect for explaining your pictures, graphs, maps, and datasets.
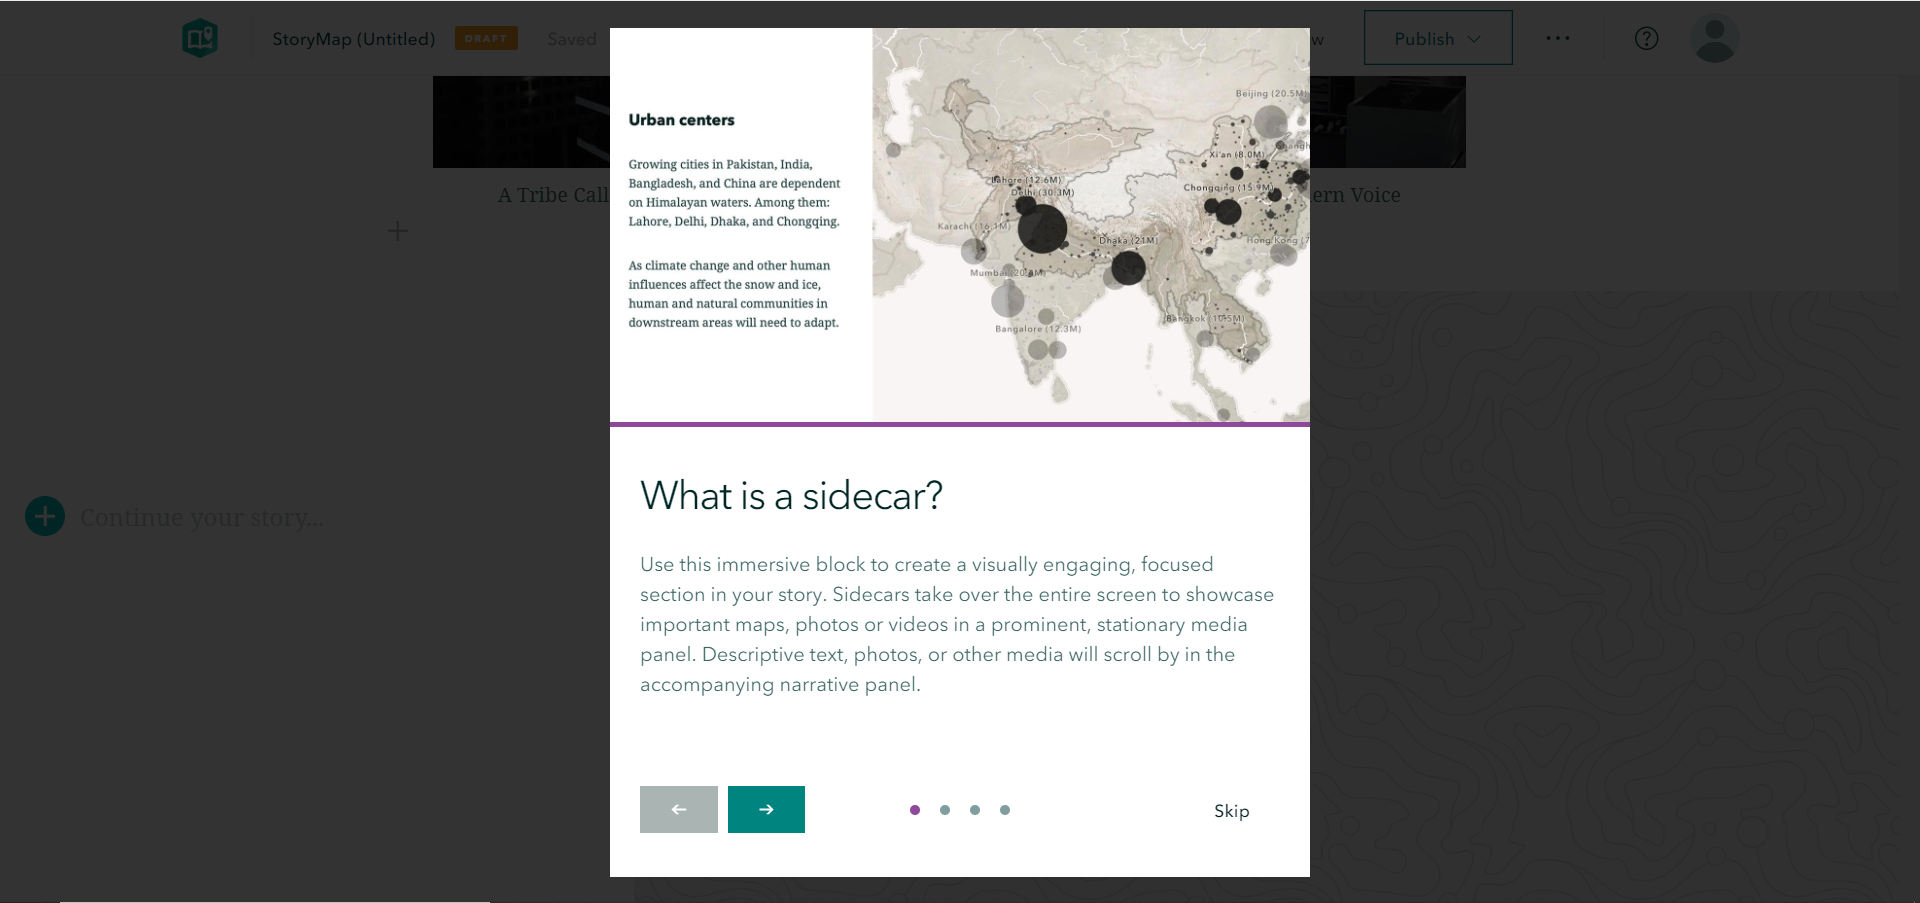
- For an introduction to sidecar, see Esri’s 6 Ways to Use Sidecar in the New ArcGIS StoryMaps
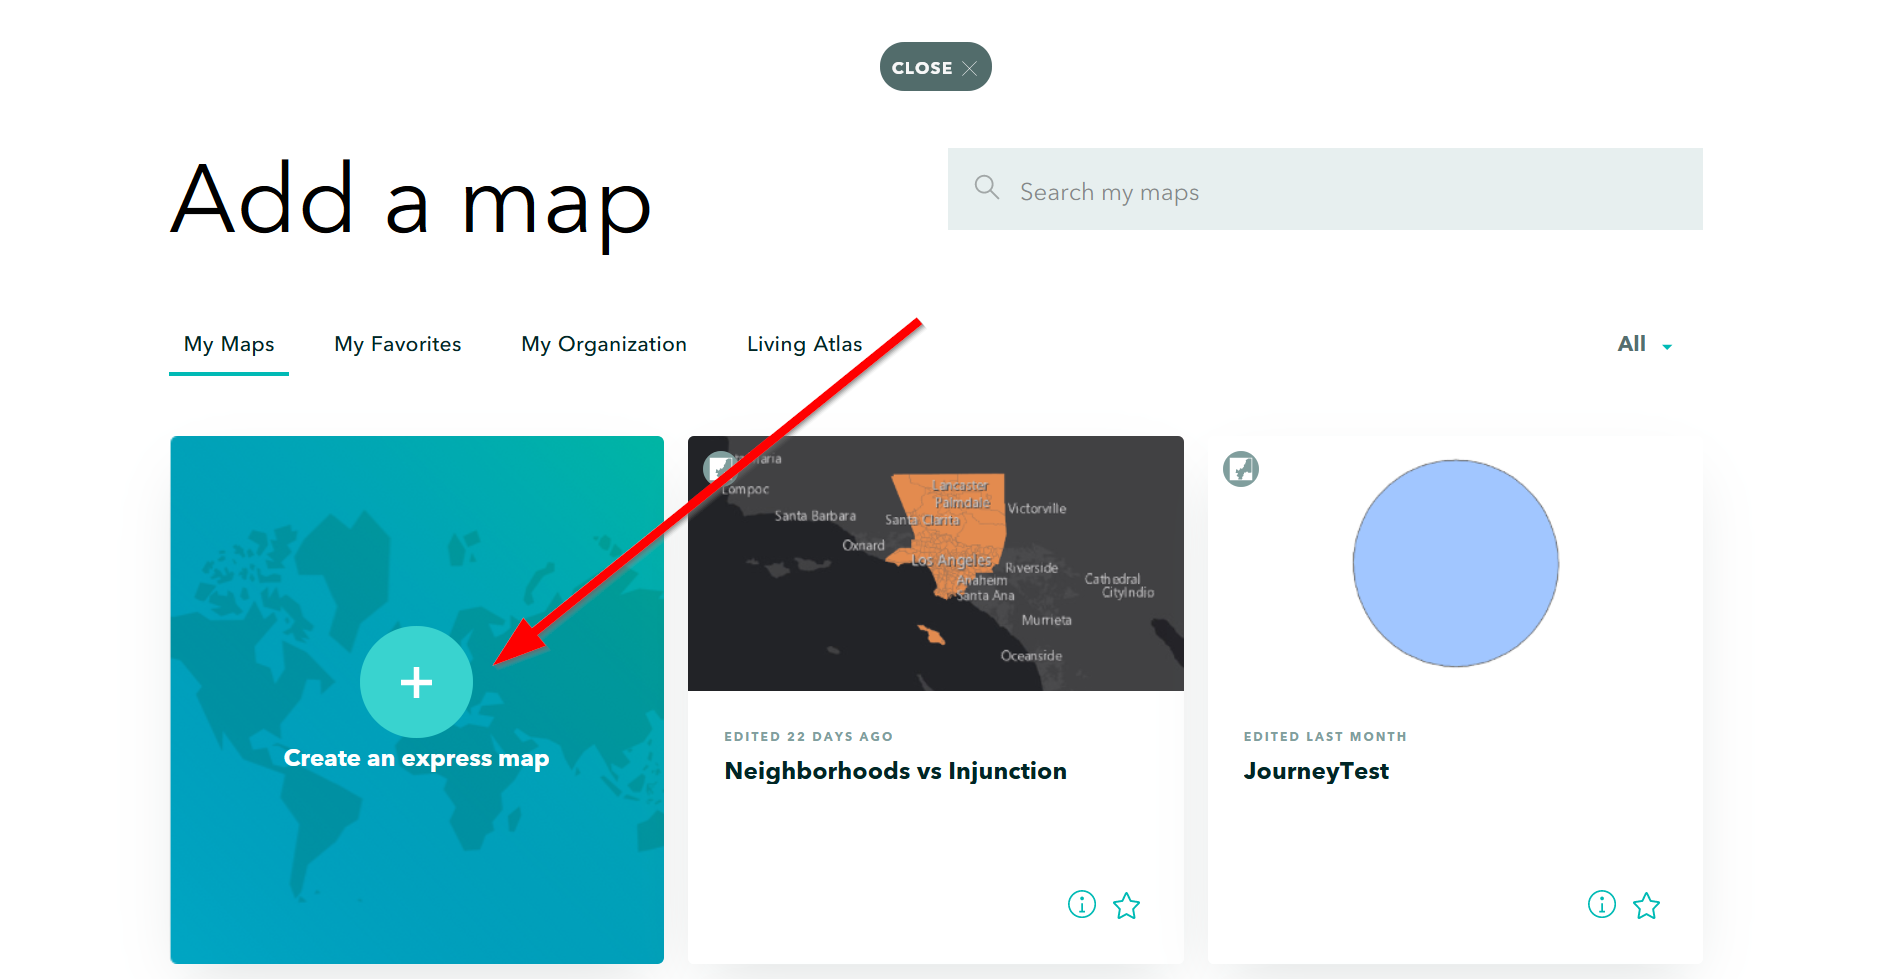
Creating an Express Map
- Express Maps are perfect for creating quick and simple maps. Select Create an express map.
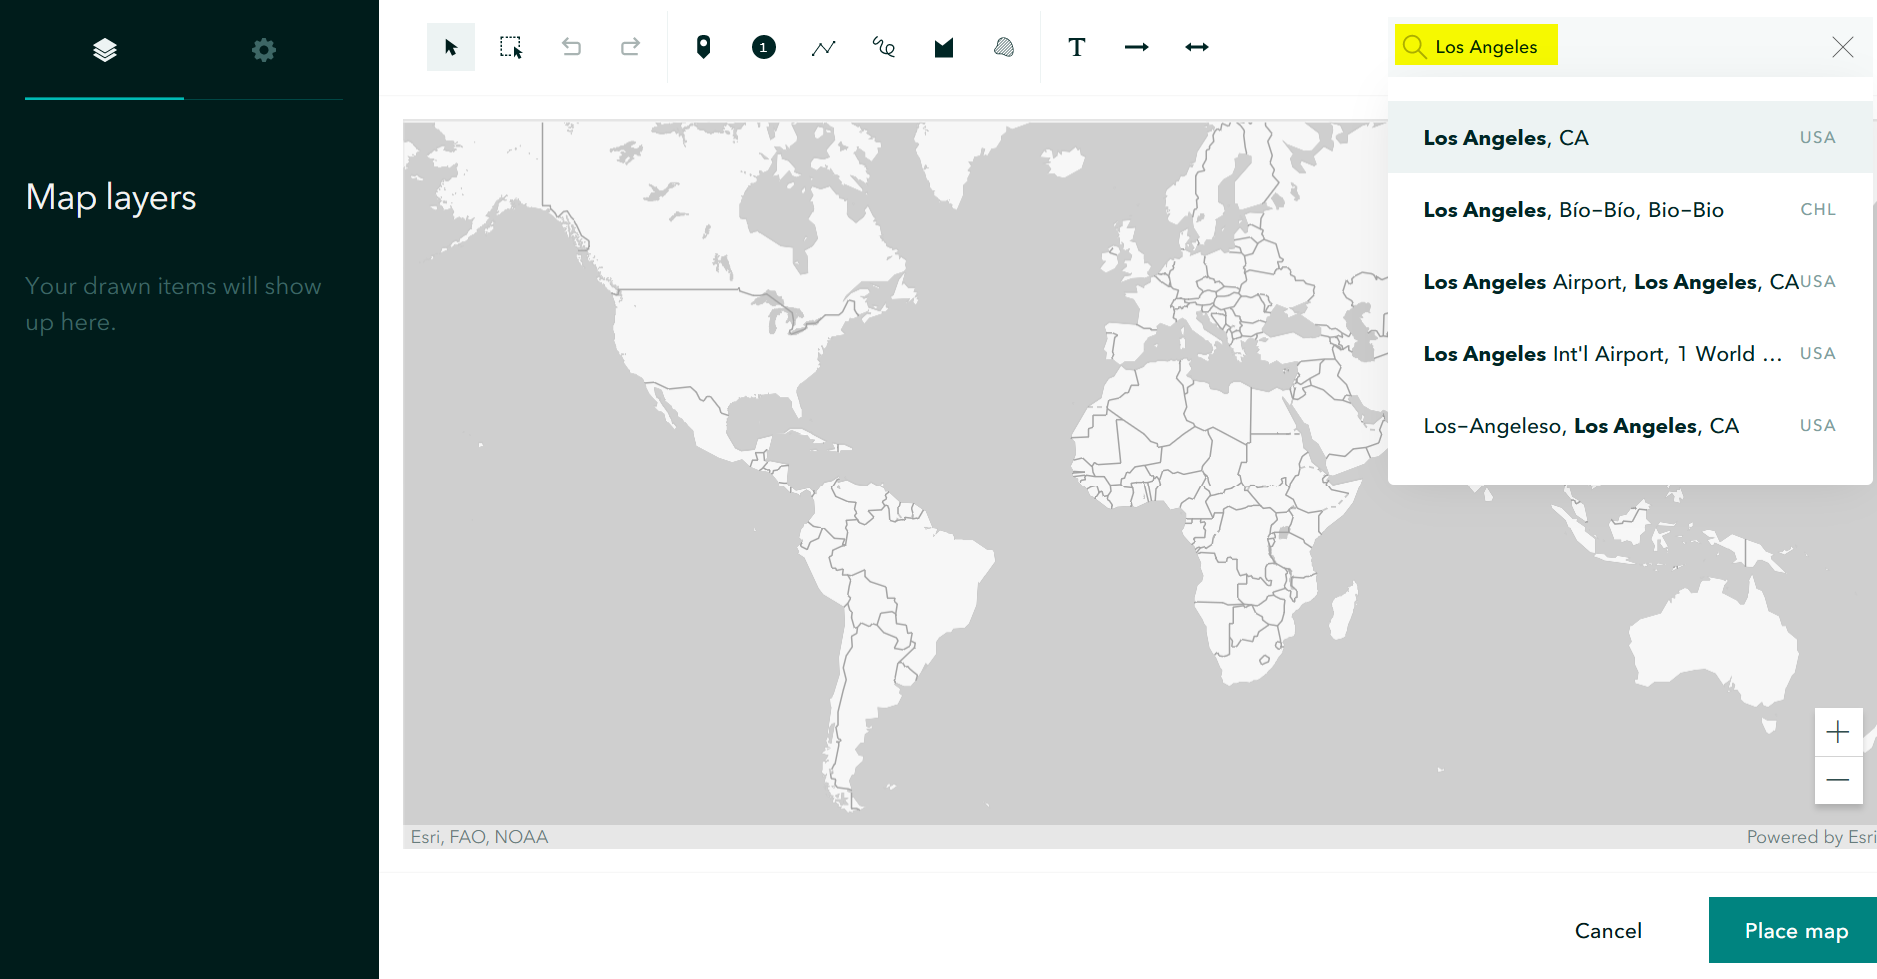
- The Search by location bar allows users to quickly locate specific sites.
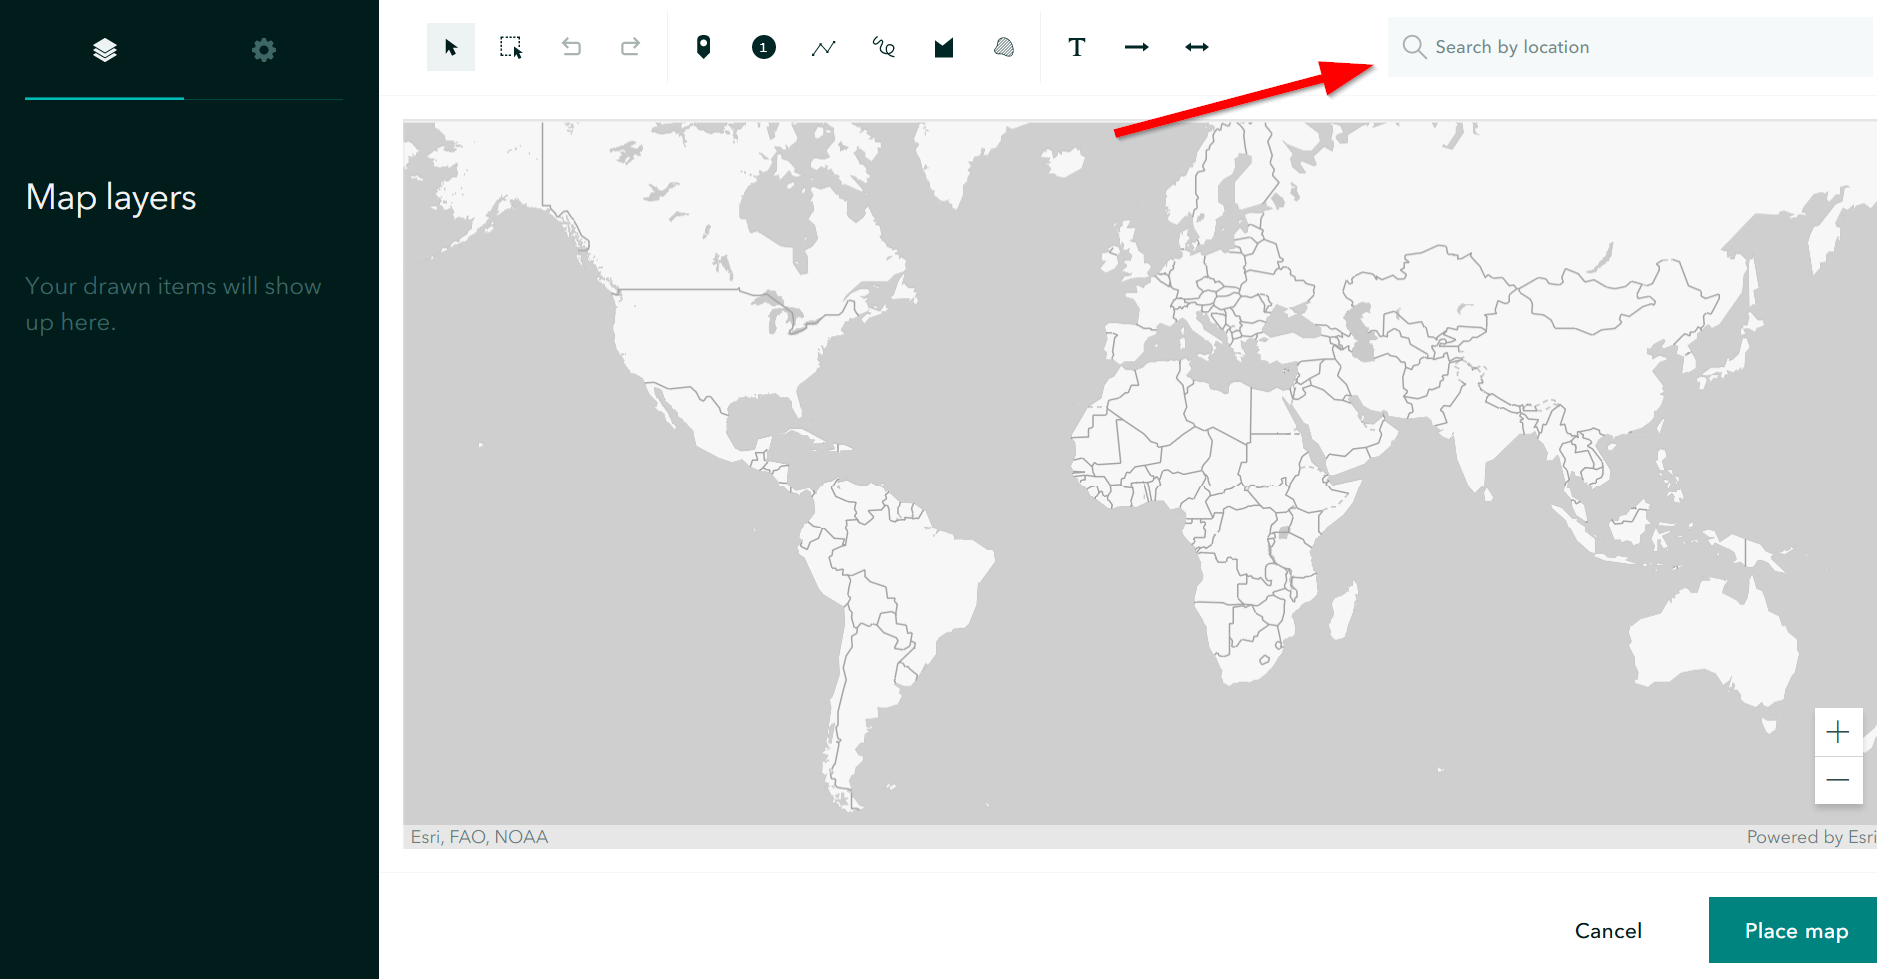
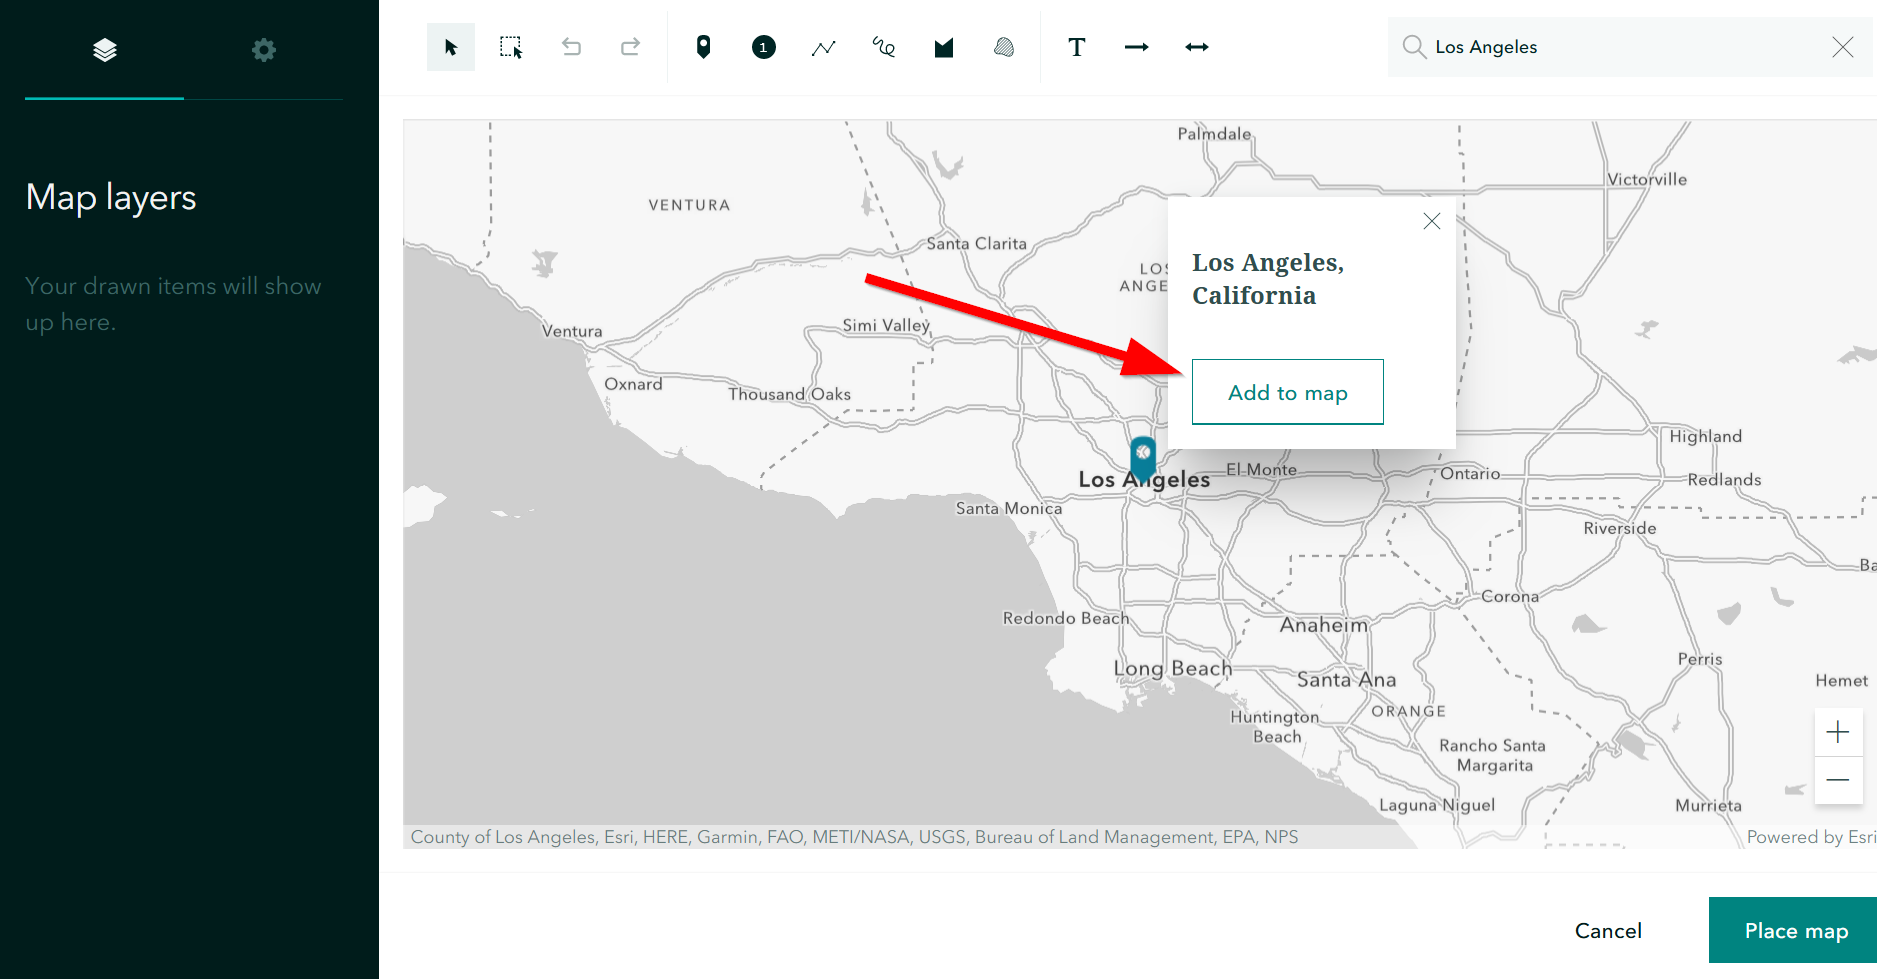
- Search for Los Angeles, CA.
- Click Add to map from results window.
- For more information on when and how to use Express Maps see Esri’s Introducing Express Maps: Making Simple Maps Simply.
Adding an Existing ArcGIS Online Web Map
- The second option for adding a map block consists of adding a web map. Let’s add the map we created in the previous Quick Guide to Visualizing Data in ArcGIS Online.
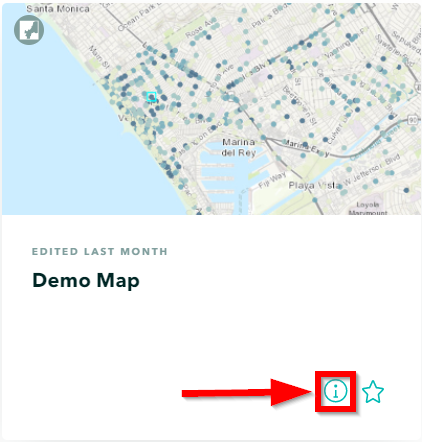
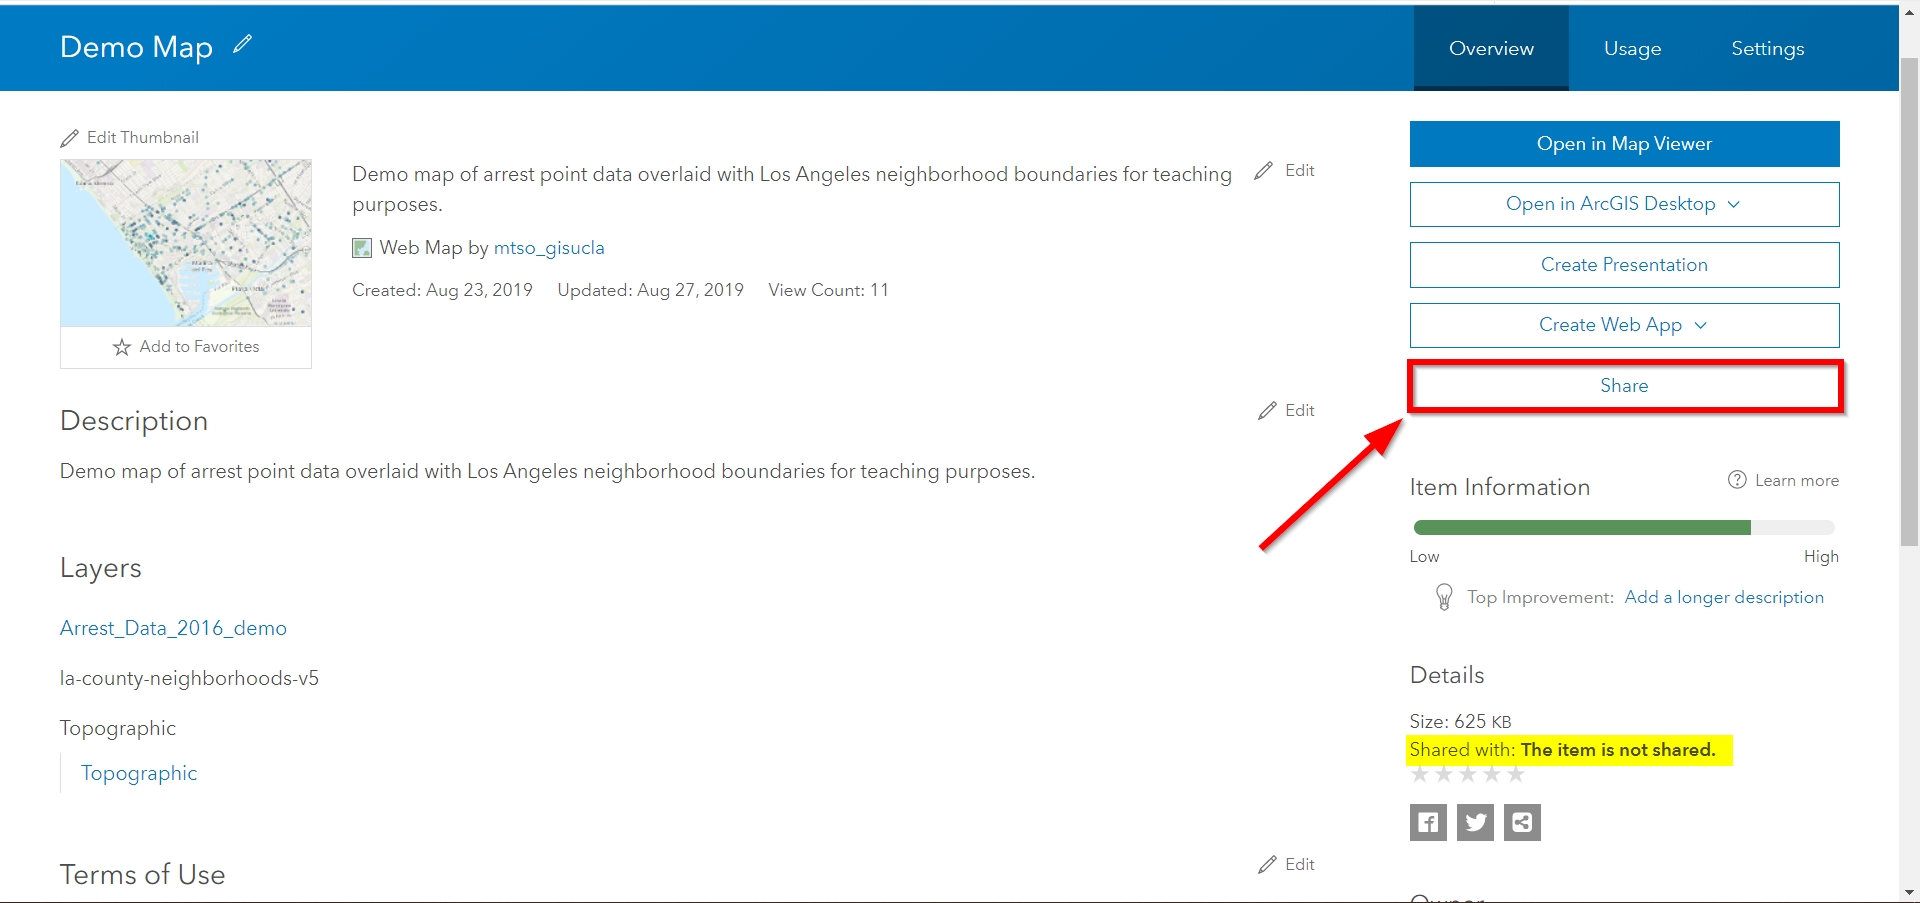
- Note: Web Maps must be shared publicly in order to be viewed by people other than yourself without requiring a login. Make sure to check your sharing settings before adding a web map. Click on the information icon to direct you to the map’s description page.
- Observe the sharing status statement on the right pane. To update the sharing setting click on the Share button.
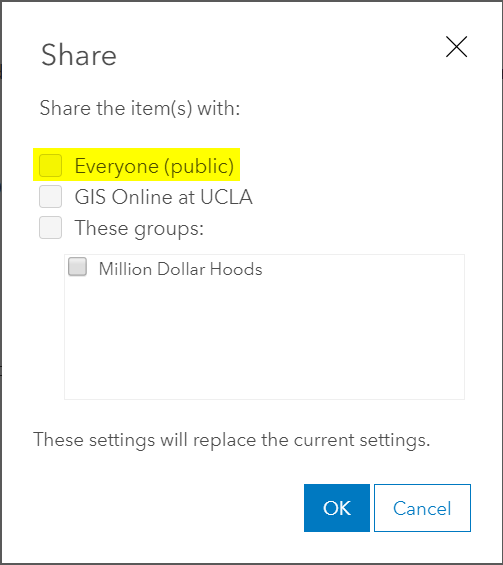
- Check the box next to Everyone(Public) and click OK.
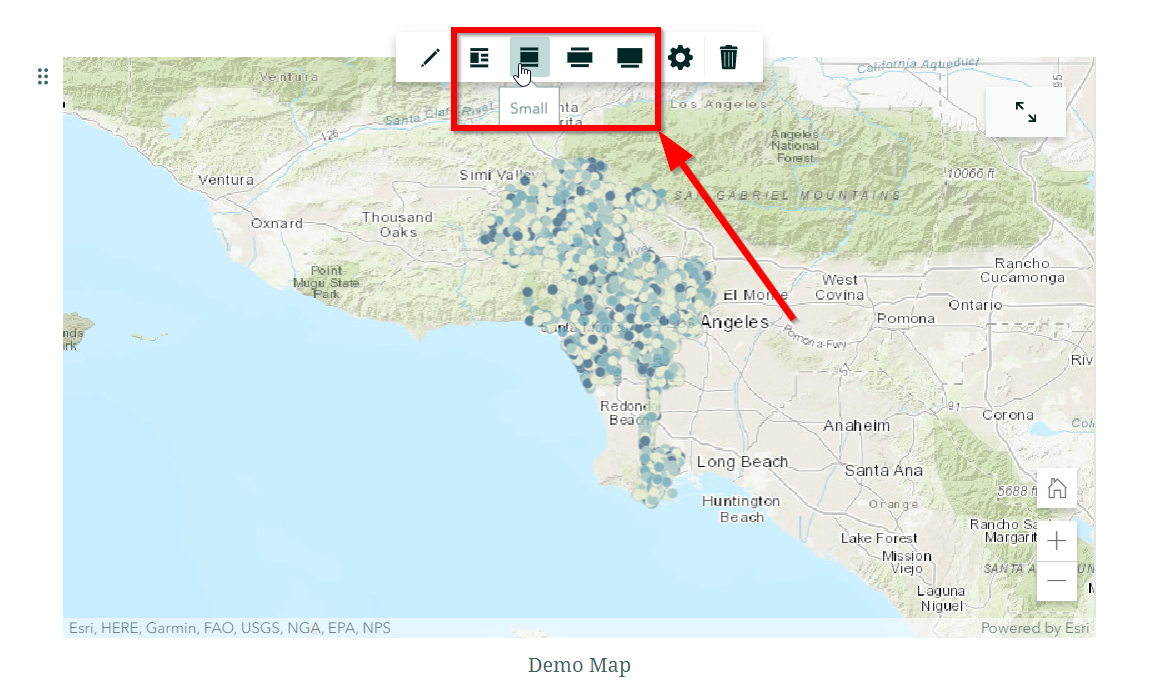
- Once the map is placed, try different block display options such as float, small, medium or large.
Publishing & Sharing your Story Map
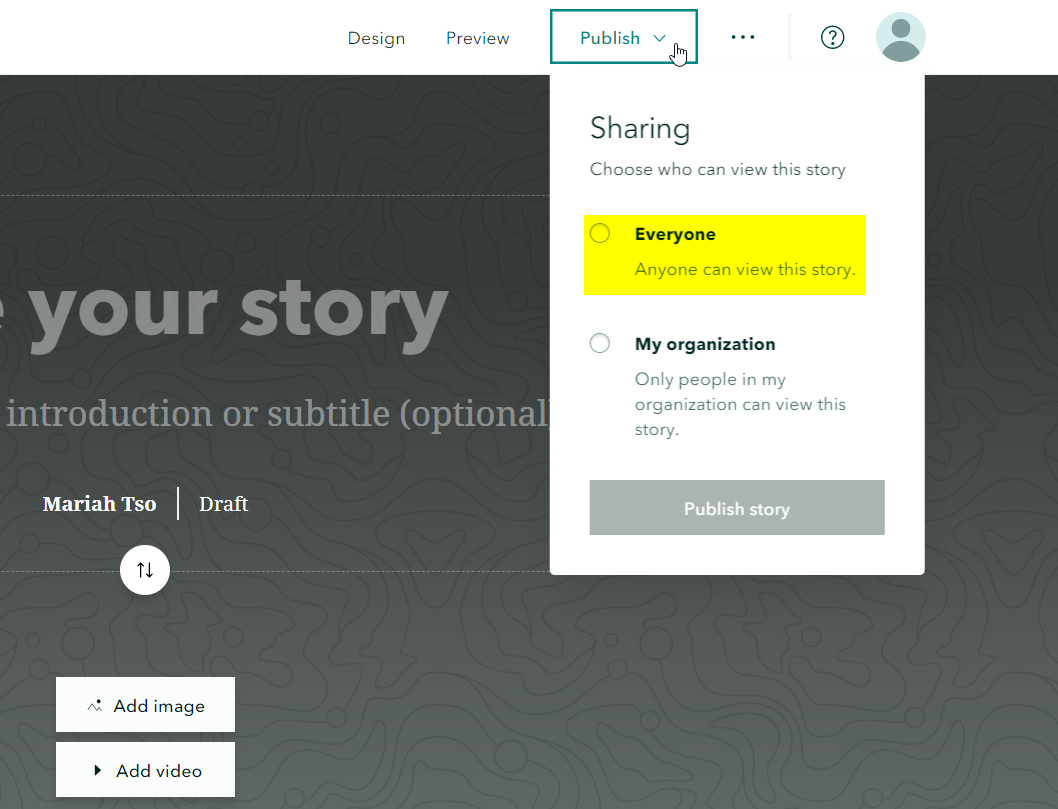
- When you are finished editing and designing your Story Map, click Publish at the beginning of the StoryMap to update the sharing settings of your StoryMap.
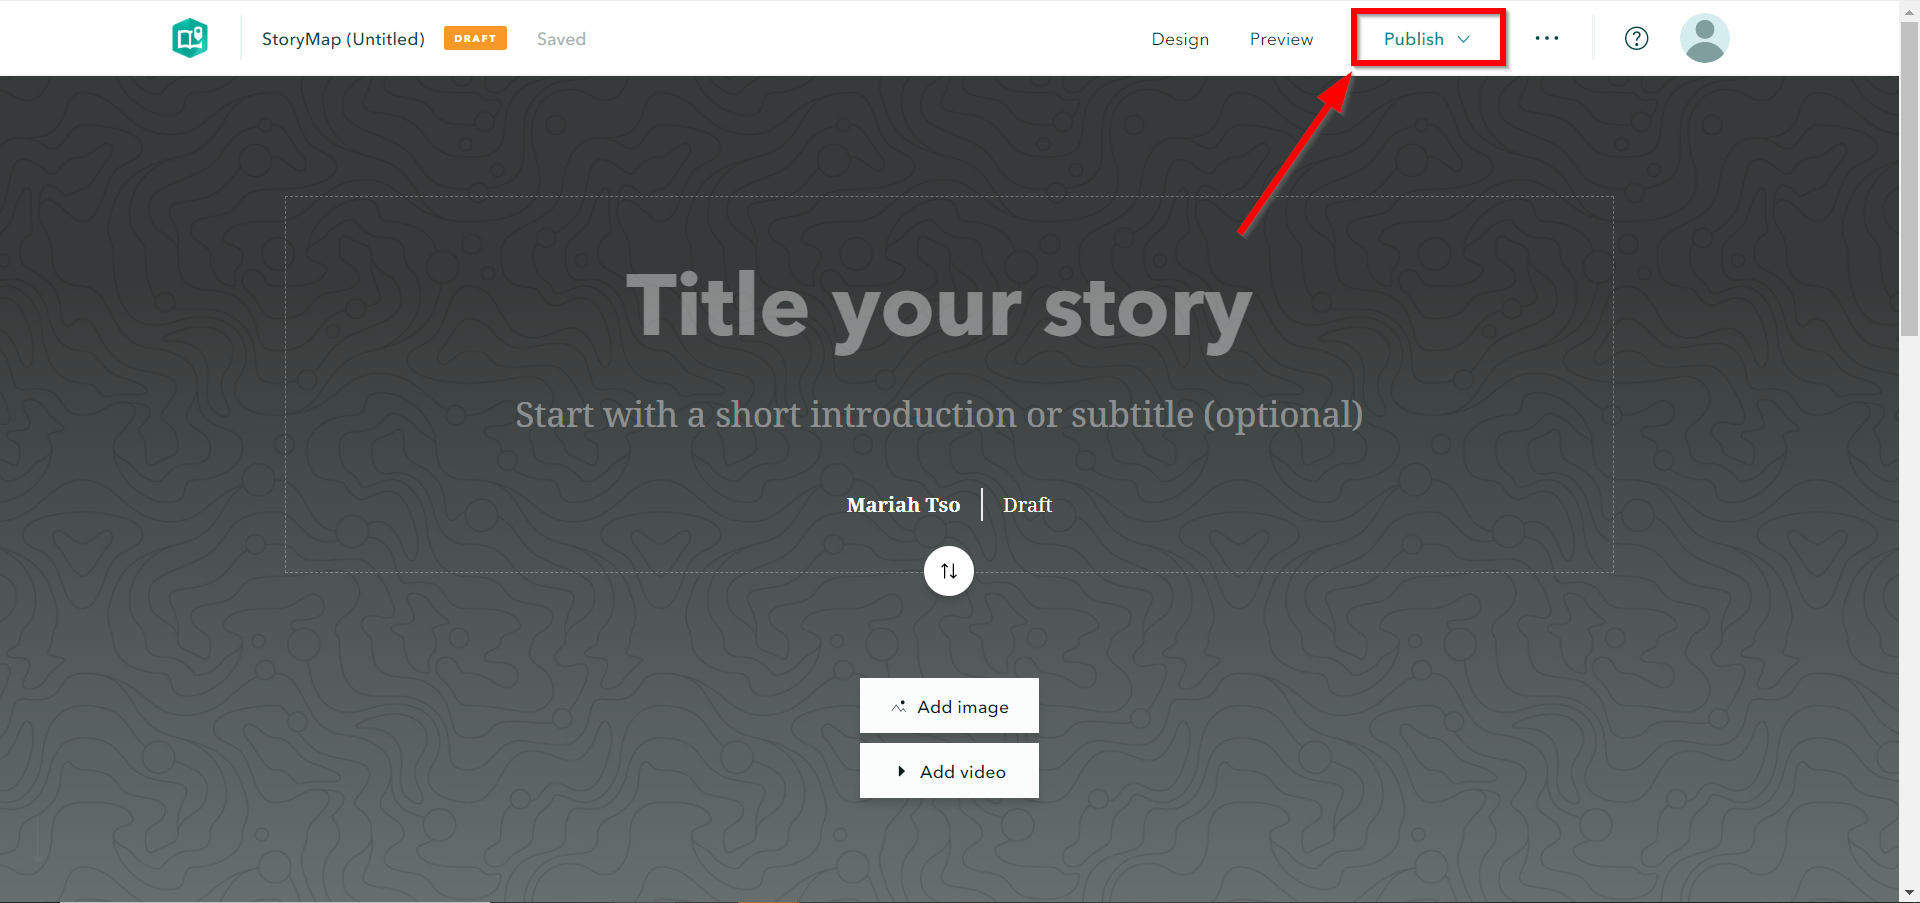
- Select your preferred sharing type. If you want anyone to access your StoryMap make sure to select Everyone. Click Publish Story.